平滑标签#
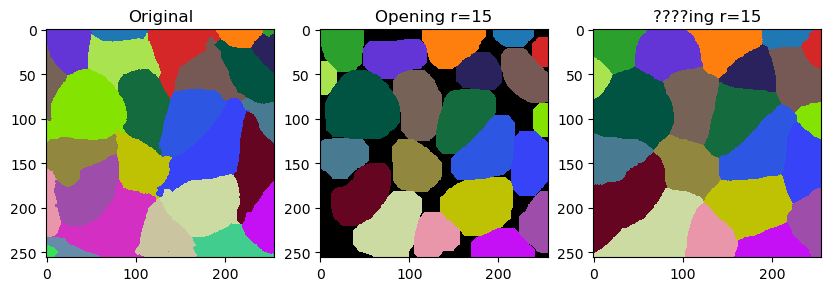
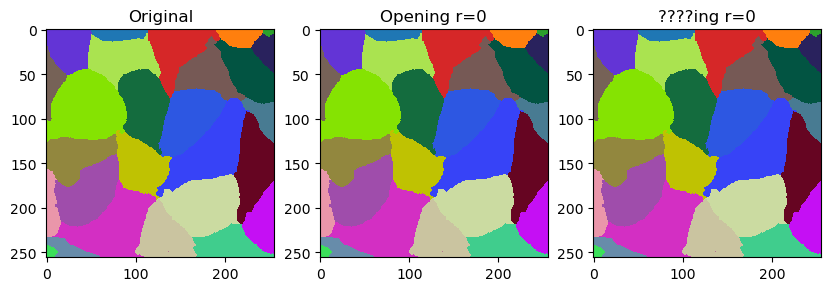
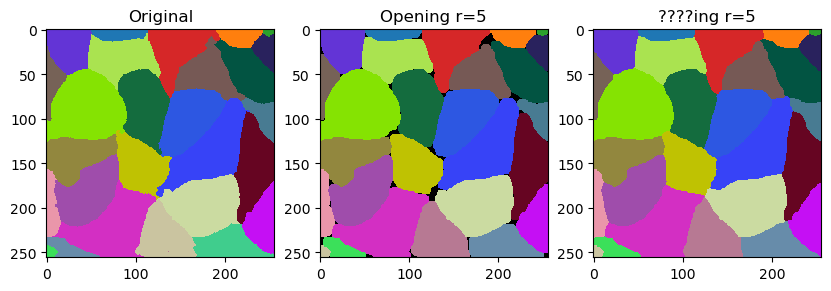
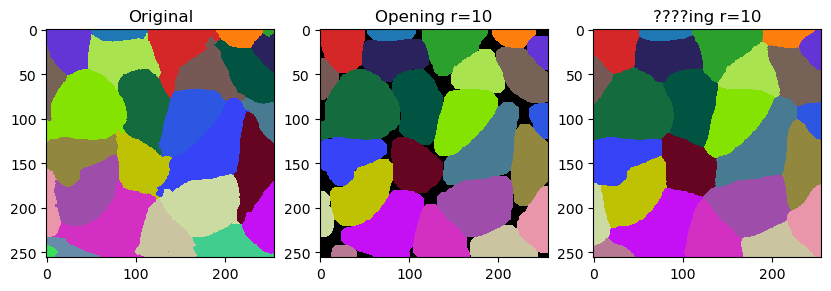
在本笔记本中,我们将演示如何通过平滑来微调标签的轮廓。这个操作与标签的腐蚀和膨胀相关。然而,它并不完全等同于开运算的效果。区别在于它不会留下空隙,而是用最近的标签填充它们。
import numpy as np
import pyclesperanto_prototype as cle
import matplotlib.pyplot as plt
一个潜在的用例是微调细胞分割结果。因此,我们来看一下基于细胞膜的细胞分割。
membranes = cle.imread("../../data/membranes.tif")
membranes

|
cle._ image

|
labels = cle.imread("../../data/membranes_labeled.tif").astype(np.uint32)
labels

|
cle._ image
|
smooth_labels 函数允许我们使标签的轮廓变得更加平滑。
cle.smooth_labels(labels, radius=5)

|
cle._ image
|
以下代码块是用于生成这条推文中视频的代码的修改版本,在那里我们讨论了这个滤镜的命名。
# for r in range(20):
for r in range(0, 20, 5):
    print("radius =", r)

    fig, ax = plt.subplots(1,3, figsize=(10,10))

    cle.imshow(labels, labels=True, plot=ax[0])
    cle.imshow(cle.opening_labels(labels, radius=r), labels=True, plot=ax[1])
    cle.imshow(cle.smooth_labels(labels, radius=r), labels=True, plot=ax[2])

    ax[0].set_title("原始")
    ax[1].set_title("开运算 r=" + str(r))
    ax[2].set_title("????ing r=" + str(r))
    # plt.savefig("temp/" + str(r).zfill(2) + ".tif", dpi=300)
    plt.show()
radius = 0
radius = 5
radius = 10
radius = 15